How to Make Your Own Bread in a Standard Oven

A loaf of artisanal sourdough at a specialty grocery store can easily run you $8.00 or more, and that is before you even consider the markup on the preservatives and high-fructose corn syrup found in the $3.00 "pre-sliced" sandwich bread. Making your own bread in a standard home oven is one of the most effective ways to slash your grocery bill while gaining total control over your ingredients. This guide provides a no-nonsense, math-based approach to baking a basic white loaf using standard kitchen equipment, ensuring you get a high-quality staple without the "wellness" price tag.
The Math of Homemade Bread
Before you buy a single bag of flour, look at the numbers. A standard 5lb bag of All-Purpose flour from a store like Walmart or Aldi costs roughly $3.50. A single 1lb jar of active dry yeast is about $4.00. When you break it down, a single loaf of bread—made from roughly 3 cups of flour—costs approximately $0.45 to $0.55 per loaf. Even if you add salt and a touch of oil, you are looking at a massive savings compared to the bakery aisle. You aren't just buying food; you are investing in a skill that yields a massive return on your monthly food budget.
Essential Equipment and Ingredients
You do not need a $500 stand mixer or a specialized Dutch oven to bake bread. If you have a standard oven, a basic mixing bowl, and a baking sheet, you are ready to go. Here is the baseline of what you actually need:
- All-Purpose Flour: This is the most versatile and budget-friendly option. While bread flour has higher protein, AP flour works perfectly for a standard loaf.
- Active Dry Yeast: This is the engine of your bread. Ensure it is not expired; dead yeast results in a brick, not a loaf.
- Warm Water: Not hot. If the water is too hot, you will kill the yeast. Aim for roughly 105°F to 110°F.
- Salt: Essential for flavor and controlling the fermentation process.
- Sugar or Honey: A small amount helps "feed" the yeast and aids in browning.
- Digital Kitchen Scale: While you can use measuring cups, weighing ingredients in grams is the only way to ensure consistency.
The Basic White Loaf Recipe
This recipe produces a standard, soft loaf that works for sandwiches or toast. It is designed for a standard 9x5 inch loaf pan, but can also be baked as a free-form boule on a baking sheet.
Ingredients List
- 500g All-Purpose Flour
- 350g Warm Water (105°F)
- 10g Salt
- 7g Active Dry Yeast (roughly 2 ¼ teaspoons)
- 15g Sugar or Honey
- 15g Vegetable Oil or Melted Butter (optional, for softness)
- Activate the Yeast: In a small bowl, combine the warm water, sugar, and yeast. Let it sit for about 5 to 10 minutes. If it doesn't become foamy or bubbly, your yeast is dead. Throw it out and start over—do not waste your flour on dead yeast.
- Mix the Dough: In a large mixing bowl, combine the flour and salt. Make a well in the center and pour in the yeast mixture and oil. Mix with a sturdy spoon or your hands until a shaggy dough forms.
- The Kneading Process: Turn the dough out onto a clean, lightly floured surface. Knead the dough by pushing it away from you with the heels of your hands, folding it back, and turning it. Do this for 8 to 10 minutes. You are looking for the dough to become smooth, elastic, and slightly tacky, but not sticky.
- First Rise (Bulk Fermentation): Lightly oil your mixing bowl. Place the dough inside, cover it with a damp cloth or plastic wrap, and set it in a warm, draft-free spot. Let it rise until it has doubled in size, which usually takes 1 to 2 hours depending on your kitchen temperature.
- Shaping: Gently punch the dough down to release excess air. Shape it into an oval or a cylinder. If using a loaf pan, grease the pan with a little oil first, then place the dough inside.
- Second Rise (Proofing): Cover the loaf and let it rise again for about 30 to 45 minutes. It should look puffy and nearly doubled in size again.
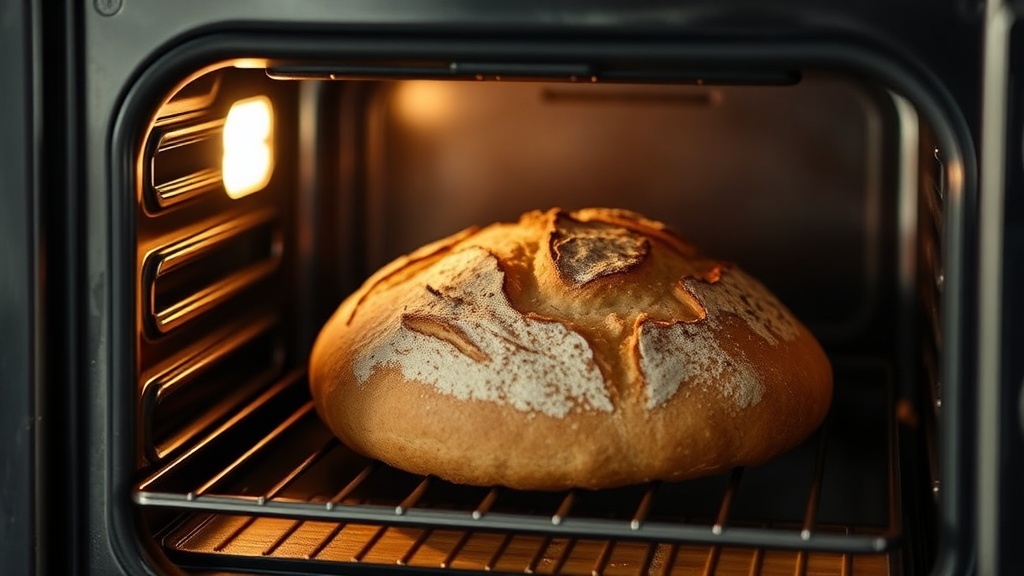
- Baking: Preheat your oven to 375°F (190°C). Bake for 30 to 35 minutes. The bread is done when the top is golden brown and the bottom sounds hollow when tapped.
- Cooling: This is the hardest part, but you must let the bread cool on a wire rack for at least 30 minutes before slicing. Slicing too early releases the steam too quickly, resulting in a gummy interior.
Troubleshooting Common Mistakes
If your bread comes out looking like a rock or a pancake, don't panic. Most "failures" come down to three specific variables: temperature, measurement, and time.
The "Brick" Loaf (Too Dense)
If your bread is heavy and dense, you likely either didn't let it rise long enough or your yeast was inactive. If you aren't using a scale, you probably packed too much flour into your measuring cups. Flour is compressible; a "cup" of flour can weigh significantly more if it's packed tight, which throws off the hydration ratio. Always use a scale if you can afford the $10 investment.
The "Flat" Loaf (No Rise)
If the dough never grew, your water was likely too hot (killing the yeast) or your environment was too cold. If you live in a cold climate, try putting your dough inside an unlit oven with the oven light turned on. The light provides just enough warmth to kickstart fermentation without overheating the dough.
The "Gummy" Center
A gummy interior is almost always a result of cutting the bread while it is still hot. Even though it looks finished, the internal structure is still setting through residual steam. Wait the full 30 minutes. If you are making a meal with canned beans or hearty stews, you want that bread to be able to soak up liquid without turning into a paste.
Scaling Up and Variations
Once you have mastered the basic white loaf, you can vary the recipe without increasing the cost significantly. You can add herbs, seeds, or even incorporate leftovers. For example, if you have leftover Greek yogurt that is nearing its expiration, adding a tablespoon to your dough can add a subtle tang and increase the softness of the crumb.
- Whole Wheat: Replace 50% of the all-purpose flour with whole wheat flour. Note that whole wheat absorbs more water, so you may need to add an extra 25-50g of water.
- Herb Bread: Add 1 tablespoon of dried rosemary or thyme during the mixing stage.
- No-Knead Method: If you don't want to spend 10 minutes kneading, you can use a "no-knead" technique. This involves a much higher water-to-flour ratio and a much longer fermentation time (12-18 hours) in the fridge. This develops more flavor but requires more patience.
Storing Your Homemade Bread
Because this bread lacks the industrial preservatives found in store-bought loaves, it will not stay "fresh" on the counter for two weeks. To avoid waste, follow these storage rules:
Countertop: Store in a paper bag or a breathable linen bag for 2-3 days. Plastic bags can cause the crust to become soft and sweaty.
Freezing: This is the smartest budget move. Once the loaf is completely cool, slice it and place the slices in a heavy-duty freezer bag. You can pull out exactly what you need for toast or sandwiches each morning. This prevents the entire loaf from going stale if you don't finish it quickly.
Avoid the Refrigerator: Do not store bread in the refrigerator. The cold temperature actually accelerates "retrogradation," a process that makes the starch molecules crystallize and makes the bread go stale faster than it would at room temperature.
Final Pro-Tip: The Cost of Convenience
The biggest obstacle to making your own bread isn't the lack of skill; it's the perceived lack of time. However, when you look at the math, the time spent kneading and waiting for dough to rise is actually a form of high-yield savings. You are trading a small amount of time for a significant reduction in your monthly food expenditure. Start with the basic recipe, master the hydration, and stop paying the "convenience tax" at the grocery store.
Steps
- 1
Mix your flour, water, yeast, and salt in a large bowl.
- 2
Knead the dough until it is smooth and elastic.
- 3
Let the dough rise in a warm spot until doubled in size.
- 4
Shape the dough and place it in a baking pan or on a sheet.
- 5
Bake in a preheated oven until the crust is golden brown.