Fermentation at Home: Turning Basic Veggies into Probiotic Gold

The average grocery store probiotic supplement costs between $30 and $50 for a single bottle, yet the actual bacteria required to improve gut health can be produced for pennies using nothing more than salt and a head of cabbage. While the wellness industry tries to sell you "gut health" in a fancy capsule, the most potent biological tools are actually found in the brine of a fermented vegetable. Fermentation is not a culinary trend; it is a biological preservation technique that turns cheap, shelf-stable vegetables into nutrient-dense superfoods.
The Math of Fermentation: Why Your Wallet Wins
If you look at the price per ounce of a high-end kombucha or a jar of artisanal kimchi at a place like Whole Foods, the markup is astronomical. You are paying for the brand, the packaging, and the shipping of a live culture. When you ferment at home, your primary costs are a bag of sea salt, a head of cabbage, and a jar. A five-pound bag of cabbage often costs less than $4.00. By the time you add 2% salt by weight, you have created a shelf-stable, probiotic-rich condiment that can last months in your refrigerator.
This isn't just about saving a few dollars on a side dish; it's about maximizing the nutritional ROI (Return on Investment) of your produce. Fermentation breaks down complex carbohydrates and increases the bioavailability of vitamins. For example, the Vitamin C content in fermented vegetables often remains high, and the process can actually increase certain B vitamins. This turns a basic vegetable into a functional food that supports digestion and immune function without the "wellness tax."
The Science of Lactic Acid Fermentation
Most home fermentation involves Lactobacillus, a genus of bacteria that thrives in anaerobic (oxygen-free) environments. These bacteria consume the natural sugars in vegetables and convert them into lactic acid. This acid serves two purposes: it preserves the food by lowering the pH to a level where harmful bacteria cannot survive, and it creates that signature tangy flavor.
To succeed, you must control three specific variables: Salt, Temperature, and Oxygen.
- Salt Concentration: For most vegetable ferments, a brine concentration of 2% to 3% is the "sweet spot." This is enough to inhibit spoilage bacteria like E. coli or Salmonella while allowing the beneficial Lactobacillus to thrive.
- Temperature: Ideally, you want a consistent room temperature between 65°F and 75°F. If it is too cold, the fermentation will stall; if it is too hot, the vegetables may turn to mush before the acidity develops.
- Oxygen Exposure: This is the most common failure point. The vegetables must remain submerged under a liquid brine. If they touch the air, you risk mold growth.
Essential Equipment: Keep It Simple and Cheap
You do not need a $50 specialized fermentation crock from a boutique kitchen store. You can achieve professional results with basic tools found at a local Target or even a dollar store. Here is the baseline kit:
- Glass Jars: Mason jars (Ball or Kerr brands) are the gold standard. They are non-reactive and easy to sterilize. Avoid plastic, as the acidity of the ferment can leach chemicals from the container over time.
- A Weight: You need something to keep the vegetables submerged. You can use a smaller glass jar filled with water, a heavy ceramic plate, or even a specialized glass fermentation weight.
- A Digital Scale: If you want to be precise, a cheap digital kitchen scale is non-negotiable. Measuring salt by "tablespoons" is unreliable because salt grain size varies. For safety and consistency, always measure by weight (grams).
- Non-Reactive Tools: Use stainless steel or wooden spoons. Avoid aluminum or copper, as the acid in the ferment will react with these metals and ruin the taste of your food.
The Foundation: Making Basic Sauerkraut
Sauerkraut is the entry point for all home fermenters because it requires the least amount of "fussy" work. It is the ultimate budget staple.
Step-by-Step Instructions
1. Prep the Cabbage: Take a large head of green cabbage (the most budget-friendly option) and remove the outer leaves. Slice the cabbage into thin ribbons using a sharp knife or a mandoline. Crucial step: Save one or two of the large, clean outer leaves to use as a "liner" later.
2. The Salt Calculation: Weigh your shredded cabbage. Multiply that weight by 0.02 (for a 2% brine). For example, if you have 1000 grams of cabbage, you need exactly 20 grams of salt. Use high-quality sea salt or kosher salt. Avoid table salt with iodine, as iodine can inhibit the growth of the beneficial bacteria.
3. Massage the Cabbage: Place the cabbage and salt in a large bowl. Using clean hands, massage the salt into the cabbage for about 5 to 10 minutes. You are looking for "weeping"—the salt will draw the moisture out of the cabbage, creating its own brine. Continue until there is a significant amount of liquid at the bottom of the bowl.
4. Packing the Jar: Pack the cabbage into your glass jar tightly. Use your fist or a wooden tamper to press it down. You want to eliminate air pockets. Once the cabbage is packed, pour the remaining liquid from the bowl over the top. The liquid should cover the cabbage by at least an inch.
5. The Submergence: Take that large outer leaf you saved, fold it, and place it on top of the cabbage. Place your weight (the small jar or glass weight) on top of that leaf. This ensures the cabbage stays below the brine line. Cover the jar with a cloth or a loose lid—do not screw the lid on tight yet, as gases need to escape.
6. The Wait: Place the jar in a dark corner of your kitchen (away from direct sunlight). Check it daily. After 3 to 7 days, taste it. If it has the desired tang and a slight crunch, move it to the refrigerator. The cold temperature will slow the fermentation process significantly, allowing you to enjoy it for months.
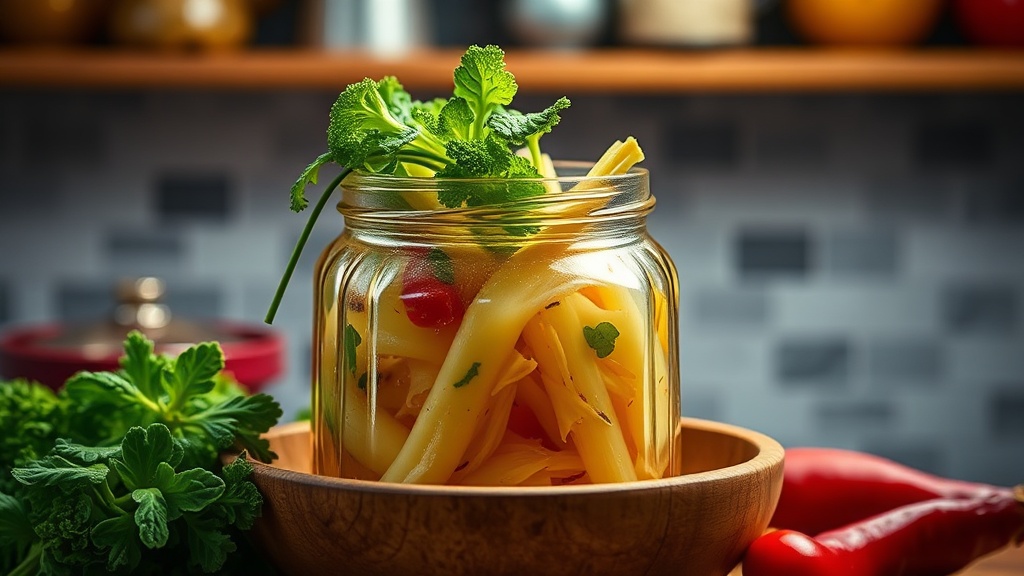
Expanding Your Skills: Quick Pickles and Kimchi
Once you have mastered the salt-and-weight method with cabbage, you can apply the same logic to other vegetables. This is how you build a pantry of diverse nutrients without spending a fortune.
Quick Pickled Carrots and Radishes
For vegetables that don't release much water (like carrots or radishes), you cannot rely on the vegetable's own juice. You must create a "brine" first. Mix 2 cups of filtered water with 1.5 tablespoons of sea salt. Stir until dissolved. Pour this over your sliced vegetables in a jar, ensuring they are fully submerged under the weight. This method is perfect for adding a bright, acidic crunch to your protein-rich bean bowls or grain dishes.
The Flavor Profile of Kimchi
Kimchi is essentially a more complex version of sauerkraut. It uses the same fermentation principles but adds aromatics like ginger, garlic, scallions, and red pepper flakes (Gochugaru). Because these aromatics are more expensive, I recommend buying them in bulk or using what you have on hand. The goal is to build layers of flavor: the funk from the fermentation, the heat from the pepper, and the brightness from the garlic.
Troubleshooting and Safety: The "Real Talk" Section
I don't believe in "wellness magic," and I don't believe in ignoring bad signs. Fermentation is a biological process, and if it goes wrong, it's usually because a variable was missed. Here is how to tell if your ferment is a success or a failure.
The Golden Rule of Fermentation: If it smells like a pickle, it's good. If it smells like a garbage can or rotting meat, throw it out immediately. There is no "waiting it out" with bad smells.
- White Film on Top: You might see a thin, white, filmy substance on the surface. This is often Kahm Yeast. It is not harmful, but it can affect the flavor. If it is just a thin film, you can scrape it off. If it is fuzzy or colorful, toss the whole batch.
- Mold: If you see green, black, or blue fuzz, the batch is contaminated. This happens when oxygen reaches the vegetables. This is a sign that your weight or your brine level was insufficient. Do not try to "save" it by scooping the mold off; the mycelium (the roots of the mold) has likely permeated the entire jar.
- Soft/Mushy Texture: If your vegetables have lost all their crunch, you likely fermented them at too high a temperature or used vegetables that were already aging. For the best results, use fresh, firm produce from your local market or even a local farmers' market.
Fermentation is a skill, not a mystery. It requires a bit of discipline and a basic understanding of how salt and bacteria interact, but once you have the hang of it, you are no longer a consumer—you are a producer. You are taking the cheapest, most basic ingredients and turning them into a high-value nutritional asset. That is how you eat well on a budget: by understanding the science and doing the work yourself.