5 Ways to Make Your Own Vegetable Broth at Home

The Slow Cooker Method for Deep Flavor
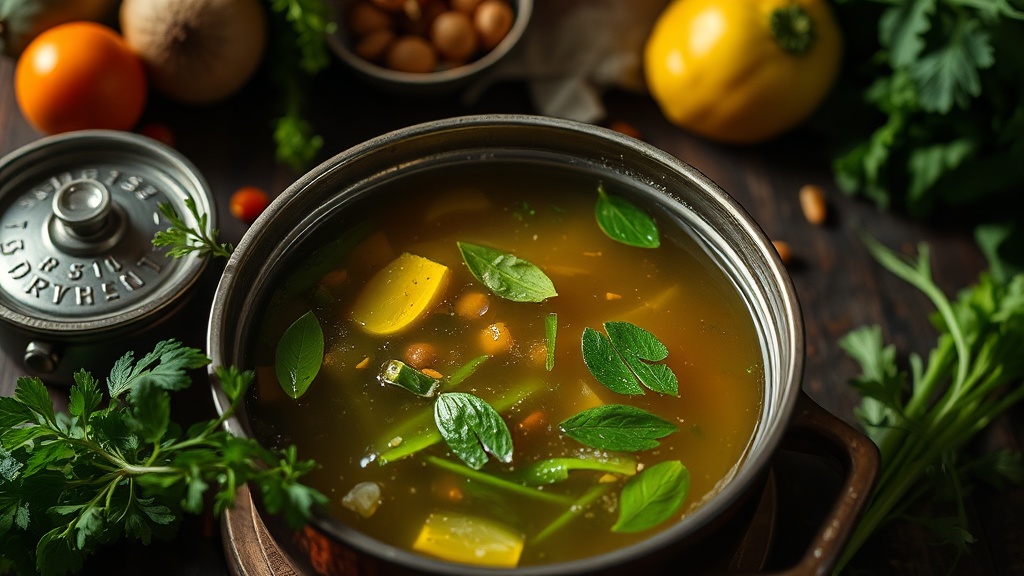
The Quick Stovetop Simmer for Weeknight Meals
The Sheet Pan Roast for Richer Color
The Instant Pot Method for Fast Results
The Freezer Bag Hack for Constant Stock
A grocery store shelf is lined with organic, non-GMO, "artisan" vegetable broths, and they are priced at nearly $5.00 for a single 32-ounce carton. For a family trying to stretch a weekly budget, that is a massive markup for what is essentially flavored water. This post explains how to stop paying that premium by making your own vegetable broth at home using scraps you would normally throw in the trash. Making your own broth is one of the most effective ways to reduce food waste and lower your grocery bill while ensuring you aren't consuming unnecessary sodium or preservatives.
1. The Slow Cooker Method
The slow cooker is the easiest tool for the budget-conscious cook because it requires almost zero active supervision. This method is ideal if you tend to prep meals on Sundays and want to have a batch of broth ready by the time you start your weekday cooking. Because the heat is low and consistent, you can extract maximum flavor from even the toughest vegetable skins and stems without the risk of burning the liquid.
To use this method, gather your scraps in a large crockpot. A good base includes onion skins (the outer papery layers), carrot tops, celery ends, and parsley stems. Add enough water to cover the vegetables by about two inches. Set your slow cooker to the "Low" setting for 12 to 18 hours. If you use the "High" setting, keep it to about 6 to 8 hours. The long, slow simmer allows the minerals and flavors to leach out thoroughly. Once the time is up, strain the liquid through a fine-mesh sieve or a piece of cheesecloth into a glass jar. Do not discard the solids immediately; if they are still somewhat intact, you can blend them into a thickener for a soup, though they are usually too soft for much else.
2. The Instant Pot or Pressure Cooker Method
If you are short on time or need to use your slow cooker for something else, the pressure cooker is your best friend. This method uses high pressure to force water into the cellular structure of the vegetables, extracting flavor in a fraction of the time. This is the most efficient way to turn a pile of wilted greens and bruised vegetables into a rich, golden liquid.
Fill your pressure cooker about halfway with water and add your vegetable scraps. A great tip for deep color is to include a few pieces of dried mushrooms or a tablespoon of soy sauce, which adds a savory depth without much cost. Ensure you do not exceed the maximum fill line, as the liquid may foam slightly during the process. Set the pressure cooker to "High Pressure" for 20 to 30 minutes. Once the timer goes off, allow for a natural pressure release rather than a quick release; this prevents the liquid from boiling over and keeps the temperature stable. This method is perfect for those who want to make a batch of broth during a busy weeknight. It is also a great way to utilize canned beans liquid, or aquafaba, if you want to add body to your broth.
3. The Sheet Pan Roasting Method
Standard vegetable broth can sometimes taste thin or "watery." If you want a broth with a deep, roasted flavor profile—similar to the high-end brands found in specialty grocers—you need to use the oven. Roasting the vegetables caramelizes the natural sugars through the Maillard reaction, which creates a much more complex flavor profile than boiling alone.
Preheat your oven to 400°F. Chop your vegetables into large, uneven chunks. Using vegetables like sweet potatoes, red onions, or even bell peppers can add significant color and sweetness. Toss the vegetables in a small amount of olive oil or even a bit of leftover oil from a pan and spread them on a baking sheet. Roast the vegetables for 30 to 40 minutes, or until the edges are slightly charred and dark brown. Once roasted, transfer the vegetables and all the browned bits from the pan (the fond) into a pot. Add water and simmer on the stove for an hour. This method results in a much more robust broth that works excellently as a base for hearty stews or risotto.
4. The Freezer Bag Method
The biggest hurdle to making homemade broth is often the lack of a "ready" pile of scraps. Most people wait until they have a massive pile, but by then, the vegetables might be turning slimy or moldy. The freezer bag method solves this by allowing you to collect scraps incrementally over several weeks without any risk of spoilage.
Keep a gallon-sized freezer bag or a dedicated container in your freezer. Every time you peel a carrot, chop the end off a celery stalk, or trim the roots from a bunch of scallions, drop them directly into the bag. This keeps the scraps clean and prevents them from taking up space in your refrigerator's crisper drawer. Once the bag is full—which might take two weeks depending on your cooking frequency—you have a ready-to-go kit for your slow cooker or pressure cooker. This is a highly effective strategy for anyone trying to minimize food waste and ensure that nothing goes to the landfill that could have gone into a pot instead.
5. The Quick Simmer Method
Sometimes you realize mid-recipe that you are out of broth and you don't have a slow cooker or a pressure cooker available. The quick simmer method is a stovetop technique that relies on high-quality, fresh ingredients rather than long cook times. This is best used when you have fresh vegetable ends rather than older, slightly wilted scraps.
In a large stockpot, combine water, fresh aromatics like garlic cloves (just smashed), ginger slices, and your vegetable ends. Bring the water to a rolling boil, then immediately reduce the heat to a low simmer. Cover the pot with a lid to prevent evaporation. Simmer for 45 minutes to one hour. Because you are not using high pressure or long cook times, the flavor will be lighter and more "bright" than the roasted or slow-cooked versions. This type of broth is excellent for poaching vegetables or as a base for a light consommé. It is a great way to utilize cheap superfoods like kale stems or broccoli stalks that might otherwise be discarded.
Essential Tips for Success
- Avoid "Bitter" Veggies: Do not add large amounts of broccoli, cauliflower, or cabbage to your broth. These can make the liquid taste bitter or sulfurous if simmered for a long time.
- Watch the Salt: Since you are making this at home, do not add salt until the very end. It is much easier to salt a finished soup than it is to fix a broth that is too salty.
- Storage Rules: Homemade broth does not have the preservatives of store-bought versions. Store it in the refrigerator for up to 5 days, or freeze it in ice cube trays for easy portioning later.
- The Color Factor: If you want a golden broth, use carrots and onions. If you want a darker, savory broth, use mushrooms and roasted red peppers.
"The goal isn't just to save money; it's to stop the cycle of buying processed, high-sodium products when the ingredients are literally sitting in your trash can."
By implementing one of these five methods, you are taking control of your kitchen budget and your nutritional intake. Whether you use the freezer bag method to collect scraps or the oven to create a deep, roasted flavor, you are ensuring that your money goes toward actual food rather than the packaging and marketing of a commercial brand.